
Accessing the service mode on your Sharp Smart TV allows you to make advanced adjustments and troubleshoot various issues. Whether you’re looking to fine-tune your TV’s settings or perform a software update, entering the service mode can be very useful. This guide will walk you through the steps to access the service menu on different Sharp TV models.
How to Enter Service Mode on Sharp Smart TV
The steps for accessing the service mode on Sharp TV vary from one model to another.
Latest Sharp TV Models
1. Power off the TV and unplug the power cable.
2. On your remote control, press and hold the Info, Menu, Mute, and Power buttons.
3. Connect the cable back to the power source and turn on the TV.
4. Release the buttons after the TV turns on. Now, the service menu will appear on the TV menu.
Note – If it fails to open, try the Input and Volume Down buttons.
Sharp Aquos LED TV
1. Turn off your TV and disconnect the power cable from the wall socket.
2. Locate the Input and Volume Down buttons on the TV panel and long press them.
3. While holding the buttons, connect the power cable back to the socket and turn on the TV. Release the buttons once the TV starts up. If your TV does not turn on automatically, tap the Power button manually.
4. Press the Volume Down and Channel Down buttons simultaneously to enter the Service Menu.
Note – The TV remote will not work in this mode. Use the TV’s Channel Up/Down buttons to scroll through the options and the Volume Up/Down buttons to adjust its settings.
Sharp LCD TVs
1. Open the Settings menu and tap Advanced Audio.
2. Set the Balance option to 0. Then, press the numbers 1, 9, 6, and 9 in sequence on the remote control.
3. The screen will change, displaying a small M in the top-left corner. Then, press the Menu button on your remote to access the Service Menu.
Sharp LCD TVs – 2017 and 2018 Models
1. On the remote controls, press the 1, 1, 4, and 7 numbers in sequence.
2. The service menu will open on your TV.
Sharp CRT TVs
1. Turn off the TV.
2. Find and press the Volume Down and Channel Up buttons on the front of the TV.
3. Continue holding the buttons while turning the TV back on. It will automatically enter the service menu.

Sharp Roku TVs
Unlike the above models, there is no dedicated service menu shortcut. Instead, you have dedicated remote shortcuts for dedicated functions.
- Reboot Sharp Roku TV: Home (5 times) → Up (1 time) → Rewind (2 times) → Fast Forward (2 times).
- Set Screenshot Format and Manage Ad Preferences: Press: Home (5 times) → Up → Right → Down → Left → Up.
- Access the Developer’s Secret Menu: Press: Home (5 times) → Up (2 times) → Right → Left → Right → Left → Right.
- Check for Overheating: Press: Home (5 times) → Fast Forward → Play → Rewind → Play → Fast Forward.
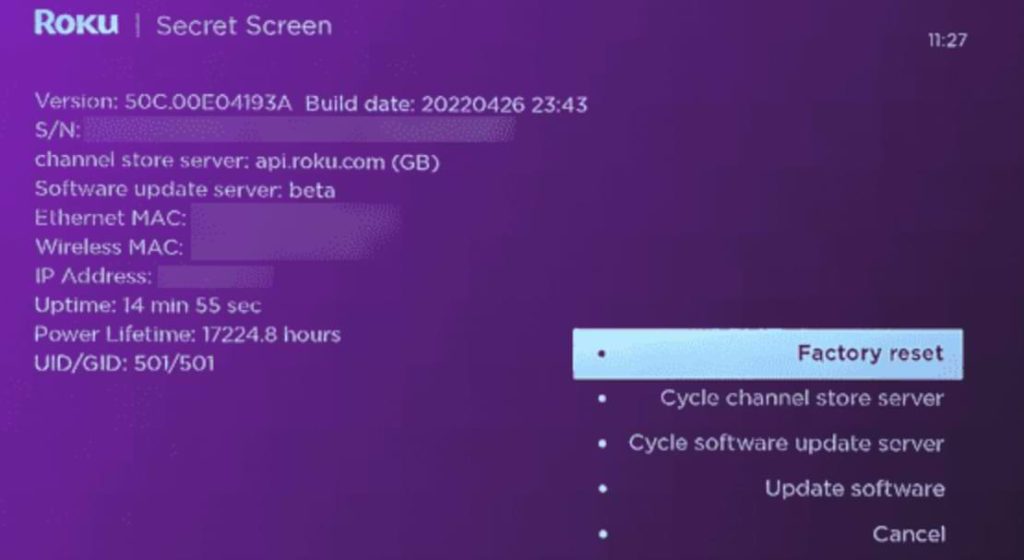
- Perform a Factory Reset or Upgrade Firmware: Press the Home button (5 times) → Fast Forward button (3 times) → Rewind button (2 times).
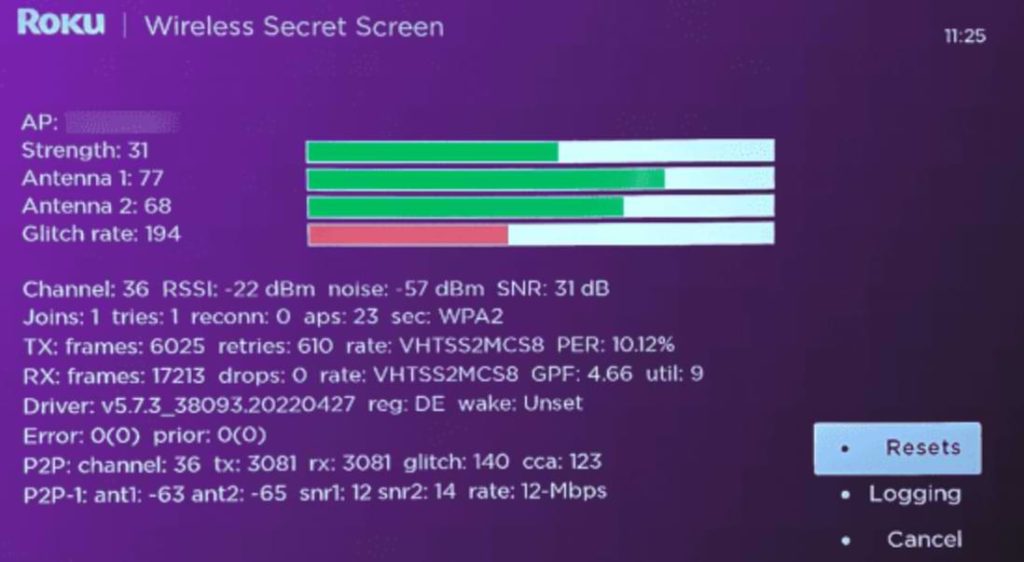
- Check Antenna’s Signal Strength: Press: Home (5 times) → Up → Down → Up → Down → Up.
- View Network Details: Press Home (5 times) → Down → Left → Up (3 times).
- Check Channel Information: Press: Home (3 times) → Up (2 times) → Left → Right → Left → Right → Left.
- View HDMI Secret Screen: Press Home (5 times) → Down → Left → Up (3 times).
- Check CPU Temperature and More: Press: Home (5 times) → Fast Forward → Play → Rewind → Play → Fast Forward.
Reach Out to Sharp TV Customer Support
If you can’t fix the issues on your Sharp TV from the service menu, contact the support team.
- Email: Send a message to [email protected]
- Phone: Call 1-888-935-8880
The email id and phone number may vary based on the country you’re residing in. So, visit the official site of Sharp TV to find the respective contact details.
FAQ
In service mode on a Sharp TV, you can adjust picture and sound settings, view system diagnostics, perform software updates, and make other technical adjustments.
Yes, making incorrect changes in service mode can harm your TV and potentially void its warranty.